In this blog post, we will guide you through the step-by-step process of creating a responsive multi-step form using jQuery, Bootstrap, PHP, and Ajax, along with proper validation. We will also provide a live demo of the form wizard, complete with field validation. Additionally, we will show you how to submit the form using jQuery, handle the PHP code, and insert the form data into a MySQL database. Feel free to customize the form code and apply Bootstrap CSS to match your specific requirements.
Creating a multi-step form with a progress indicator can enhance the user experience by breaking down a lengthy form into smaller, more manageable sections. It also allows for validation of each step before proceeding to the next. Let’s dive into the step-by-step process:
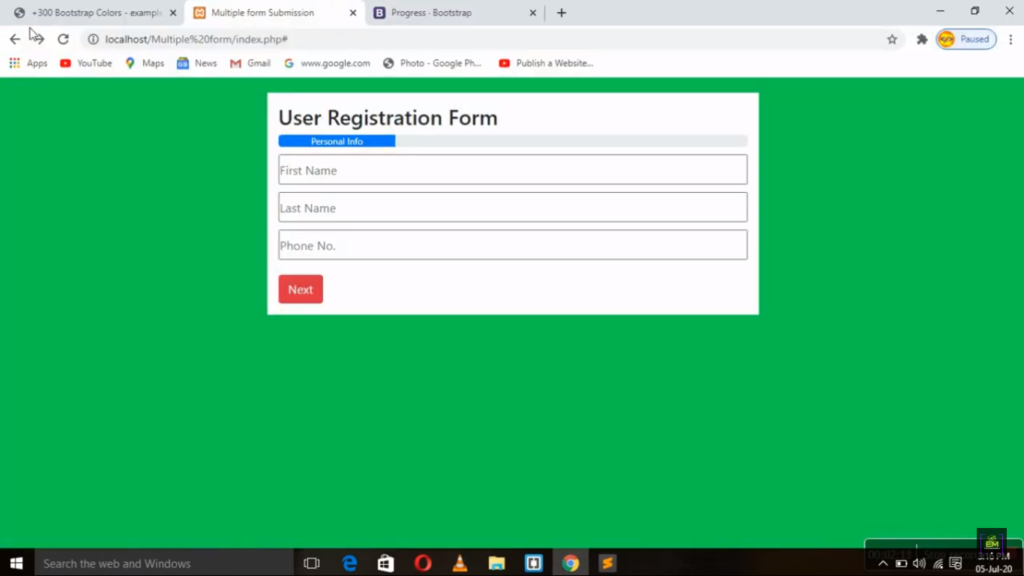
Step 1: Setting up the HTML structure
To begin, create an HTML form with multiple sections, each representing a step. Add appropriate form fields, such as text inputs, dropdowns, checkboxes, etc., within each section. Include a progress indicator to visualize the completion status.
Step 2: Styling with Bootstrap
Utilize Bootstrap classes to style the form and make it responsive. Bootstrap provides a wide range of pre-defined CSS classes that can be applied to form elements, containers, and buttons, giving your form a professional look and feel.
Step 3: Implementing jQuery and jQuery Steps Plugin
Include the jQuery library and the jQuery Steps plugin in your HTML file. The jQuery Steps plugin simplifies the process of creating multi-step forms by providing easy navigation, validation, and customization options.
Step 4: Initializing the jQuery Steps Plugin
Initialize the jQuery Steps plugin using JavaScript code. Customize the plugin settings according to your requirements, such as the number of steps, labels, and validation rules.
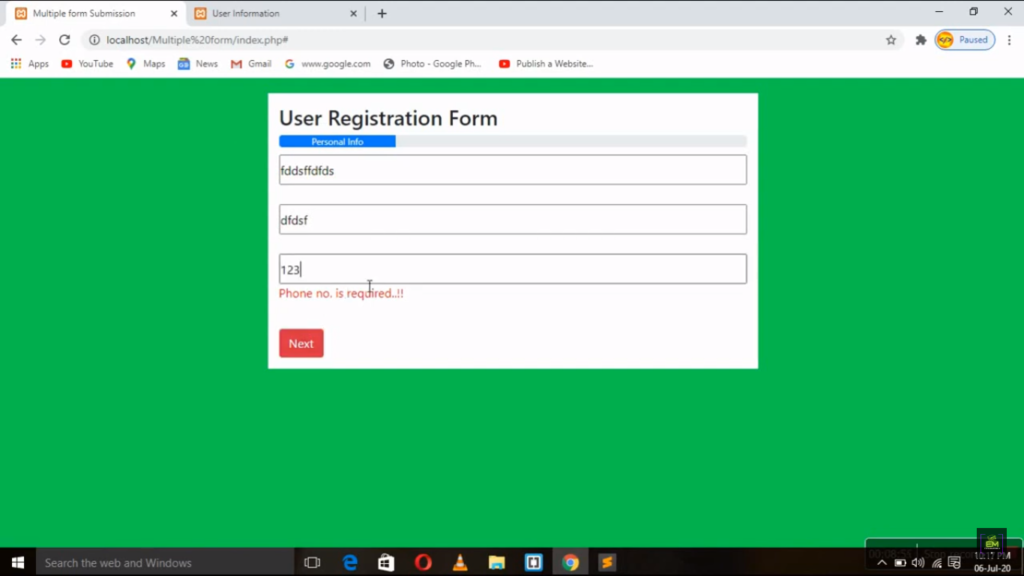
Step 5: Validating the Form Fields
Implement field validation using jQuery validation rules. You can define validation rules for each field, such as required fields, minimum and maximum lengths, email validation, etc. Display appropriate error messages for invalid input.
Step 6: Handling Form Submission with jQuery Ajax
Use jQuery Ajax to handle the form submission process asynchronously. Capture the form data and send it to the server using an Ajax request. Write PHP code to receive the data and perform any necessary server-side validation.
Step 7: Processing Form Data in PHP
In your PHP code, retrieve the form data sent via Ajax and perform additional validation and sanitization. Connect to your MySQL database and insert the form data into the appropriate table.
Step 8: Displaying Success or Error Messages
After the PHP code processes the form data, send back a response to the client-side. Display a success message if the form submission was successful or an error message if any issues occurred during the process.
By following these step-by-step instructions, you can create a responsive multi-step form with jQuery, Bootstrap, PHP, and Ajax. The live demo will showcase the functionality and allow you to test the form’s validation and submission process. Remember to customize the form code and apply Bootstrap CSS as per your specific design requirements.
Development Steps :
Steps 1 : create Multi Step Form using HTML, CSS & Bootstrap:
- Create HTML form
- Add jQuery and Bootstrap
- Write Next and Previous Step jQuery Code
- Fields validation and Submit the form via Ajax
- Create MySQL Database and Insert Form data in it
Step 2 : Start creating jQuery Multi Step Form with Bootstrap
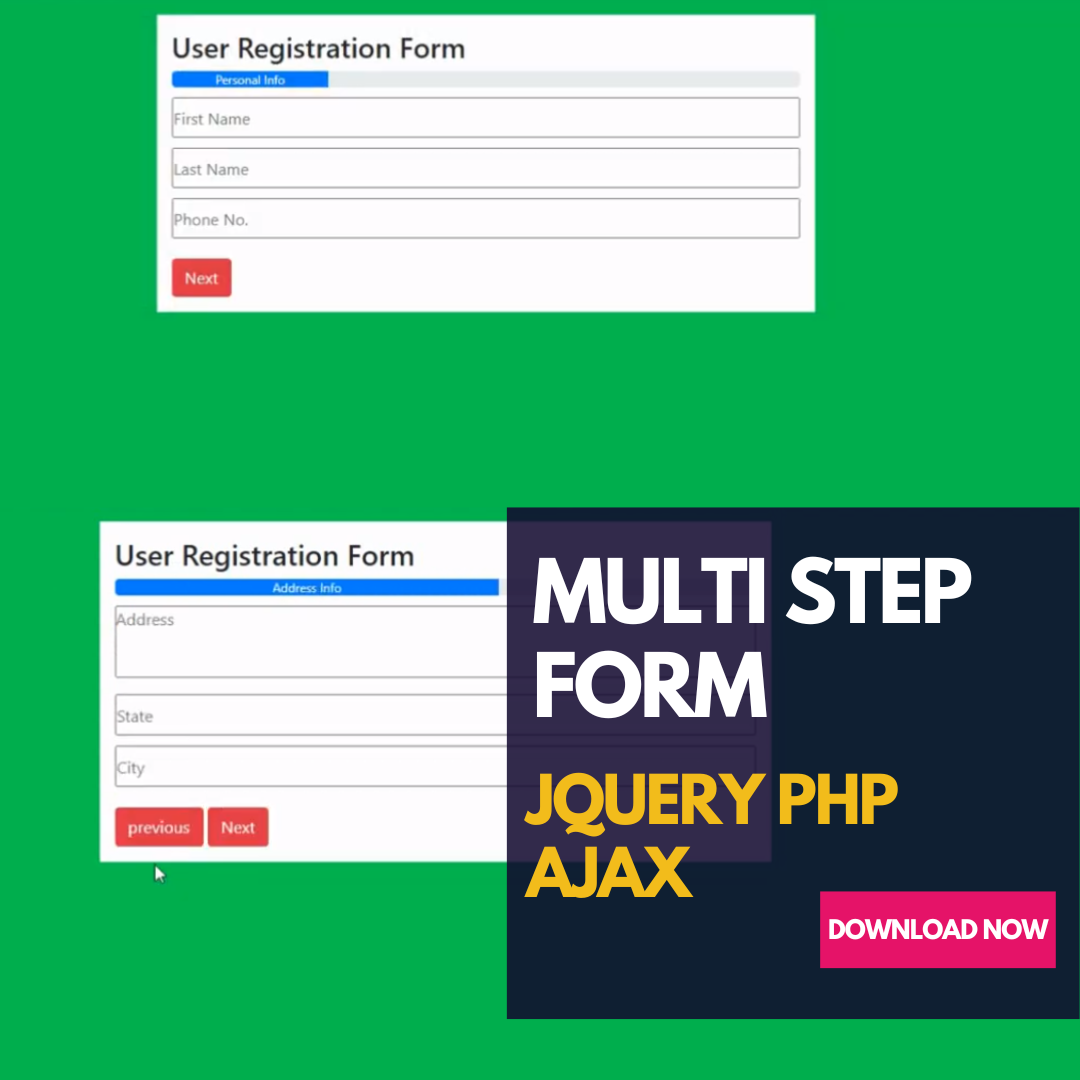
Lets Start step by step validation of our multistep form using jquery.
- 1st step personal Info validation (First Name, Last Name and Phone Number
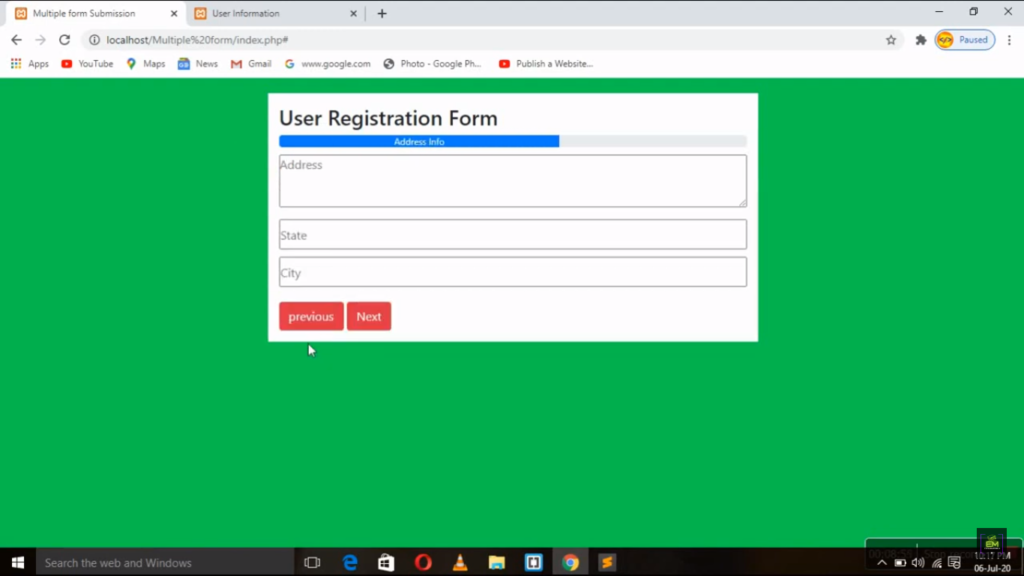
- 2nd step Address validation (Address, City And State)
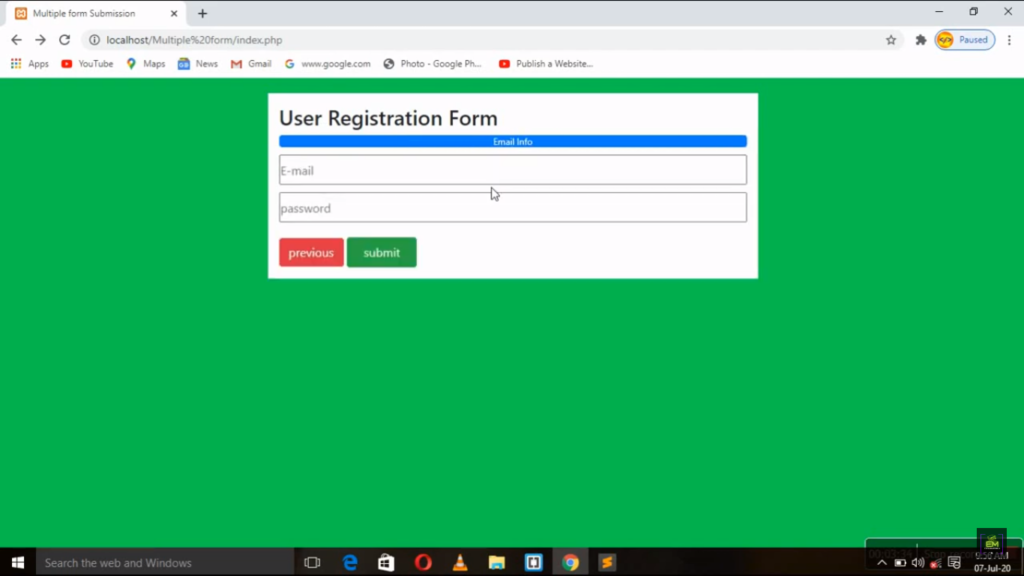
- 3rd Step Email and password Validation
- After successfully validate our form click here to submit your form
Step 2 : Start creating Database and registration Table
Lets Start Step by Step creating Database and registration table for submit registration input Data
- Install Xampp/Wampp Local Server
- Create Database (Database Name)
- Create table (Registration Table Name)
- Create column Name Where you can store your registration input form data)