.png)
Introduction
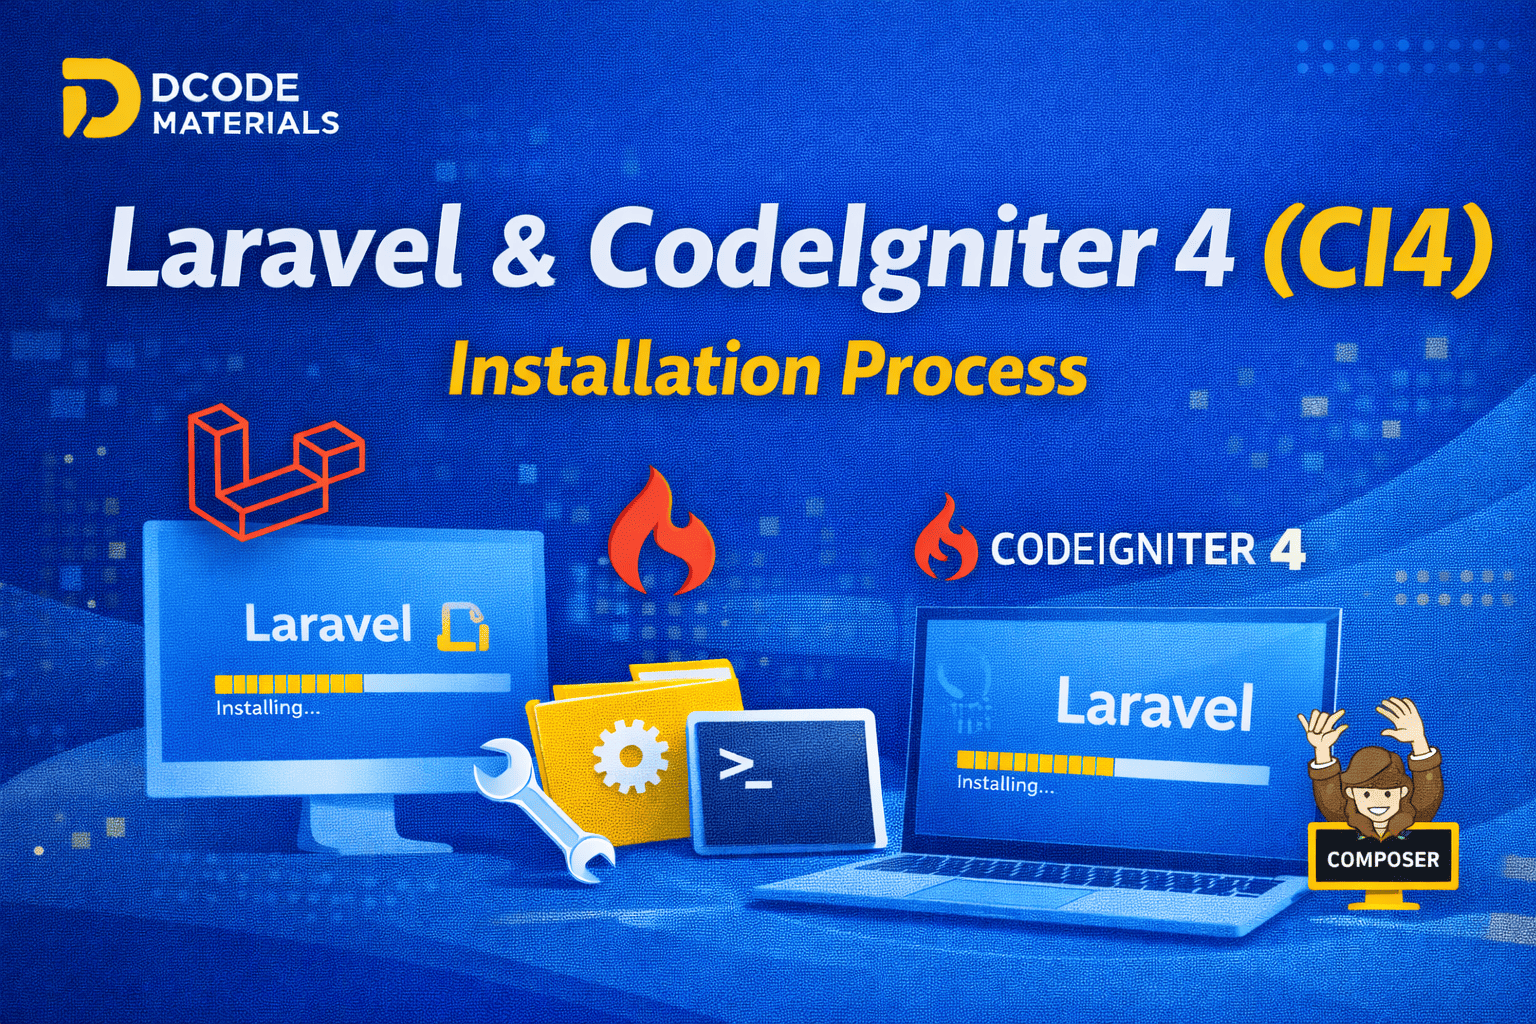
Laravel and CodeIgniter 4 (CI4) are two of the most popular PHP frameworks used for modern web development. Both frameworks simplify application development, offer powerful features, and follow MVC architecture.
Whether you are a beginner or an experienced developer, knowing how to properly install Laravel and CI4 on your local server (XAMPP/WAMP) or a live server is crucial. In this guide, we will walk you through the step-by-step installation process, including prerequisites, server setup, and common troubleshooting tips.
By the end of this tutorial, you will have a fully functional Laravel and CI4 environment ready for development.
Prerequisites
Before installing Laravel or CI4, ensure you have the following:
For Local Development (XAMPP/WAMP):
- XAMPP / WAMP / MAMP installed (PHP 8.1+ recommended)
- Composer installed (Dependency manager for PHP)
- Node.js & NPM (for Laravel Mix, frontend assets compilation)
- MySQL database installed
- Text editor / IDE like VS Code, PhpStorm
For Live Server Deployment:
- PHP 8.1+ installed
- MySQL or MariaDB database
- Composer installed on the server
- Apache/Nginx web server configured
- SSH access to server (for composer commands)
Part 1: Laravel Installation Process
Step 1: Install Composer
- Laravel requires Composer to manage dependencies.
- Download Composer: https://getcomposer.org/download/
- Verify installation:
composer -v
Step 2: Create a New Laravel Project
- Open terminal / CMD in your project directory
- Run command:
composer create-project laravel/laravel my-laravel-app
- my-laravel-app is your project folder name
Step 3: Configure Environment
- Go to project folder → .env file
- Configure database:
DB_CONNECTION=mysql DB_HOST=127.0.0.1 DB_PORT=3306 DB_DATABASE=laravel_db DB_USERNAME=root DB_PASSWORD=
- Save the file
Step 4: Run Laravel Server Locally
- Open terminal in project directory
- Run:
php artisan serve
- By default, it runs on: http://127.0.0.1:8000
Step 5: Compile Frontend Assets (Optional)
- Install Node.js dependencies:
npm install
- Compile CSS & JS assets:
npm run dev
- For production build:
npm run build
Step 6: Troubleshooting Common Issues
- PHP version error: Make sure PHP 8.1+ is active
- Missing extensions: Enable required extensions (OpenSSL, PDO, Mbstring, Tokenizer, XML, Ctype)
- Permissions issue: Run project folder with proper permissions
Part 2: CodeIgniter 4 (CI4) Installation Process
Step 1: Download CI4
- Download from official site: https://codeigniter.com/download
- Extract the ZIP file in htdocs or your desired XAMPP folder
Step 2: Configure Environment
- Rename env file to .env in project root
- Open .env and set database config:
database.default.hostname = localhost database.default.database = ci4_db database.default.username = root database.default.password = database.default.DBDriver = MySQLi
Step 3: Set Base URL
- Open .env file and set:
app.baseURL = 'http://localhost/ci4-app/'
- Save the file
Step 4: Run CI4 Project
- Open terminal in project folder
- Run:
php spark serve
- By default, CI4 runs at http://localhost:8080
Step 5: Configure Autoloads & Routes
- app/Config/Autoload.php – For libraries, helpers, models
- app/Config/Routes.php – Define your application routes
Step 6: Troubleshooting Common CI4 Issues
- PHP version: CI4 requires PHP 7.4+ (preferably 8.1+)
- Writable folders: Ensure writable/ folder has proper permissions
- Missing extensions: Enable Intl, Mbstring, OpenSSL
Part 3: Installing Laravel/CI4 on Live Server
Step 1: Upload project via FTP or Git
Step 2: Set environment variables .env
Step 3: Run composer install on server:
composer install --optimize-autoloader --no-dev
Step 4: Set proper permissions for storage, writable folders
Step 5: Configure VirtualHost or .htaccess (Apache)
Step 6: For Laravel, run migrations:
php artisan migrate --force
Technology & System Table
| Feature / Tech | Laravel | CI4 |
|---|---|---|
| PHP Version | 8.1+ | 7.4+ (8.1 recommended) |
| Database | MySQL/MariaDB | MySQL/MariaDB |
| Composer | Required | Required for optional packages |
| Server | Apache/Nginx | Apache/Nginx |
| Frontend | Blade, HTML, CSS, JS | HTML, CSS, JS |
| Command Line | Artisan CLI | Spark CLI |
| Routing | Web.php / API.php | Routes.php |
| MVC Support | Full MVC | Full MVC |
| Dependency Management | Composer | Composer |
| Localhost URL | http://127.0.0.1:8000 | http://localhost:8080 |
Conclusion
Installing Laravel and CodeIgniter 4 (CI4) properly is the foundation for building robust PHP web applications. Both frameworks provide clean MVC structure, easy database integration, and powerful CLI tools for developers.
Whether you are working locally on XAMPP or deploying to a live server, following the step-by-step installation process ensures smooth setup and avoids common errors like missing dependencies, wrong PHP versions, or permission issues.
With Laravel and CI4 ready, you can start building modern, scalable, and secure web applications in a professional environment.